How to Convert Old Cassette Tapes to Digital
Somewhere there's a shoebox of old tapes. Cassettes last a long time, but not forever. Here's how to save what's on them.
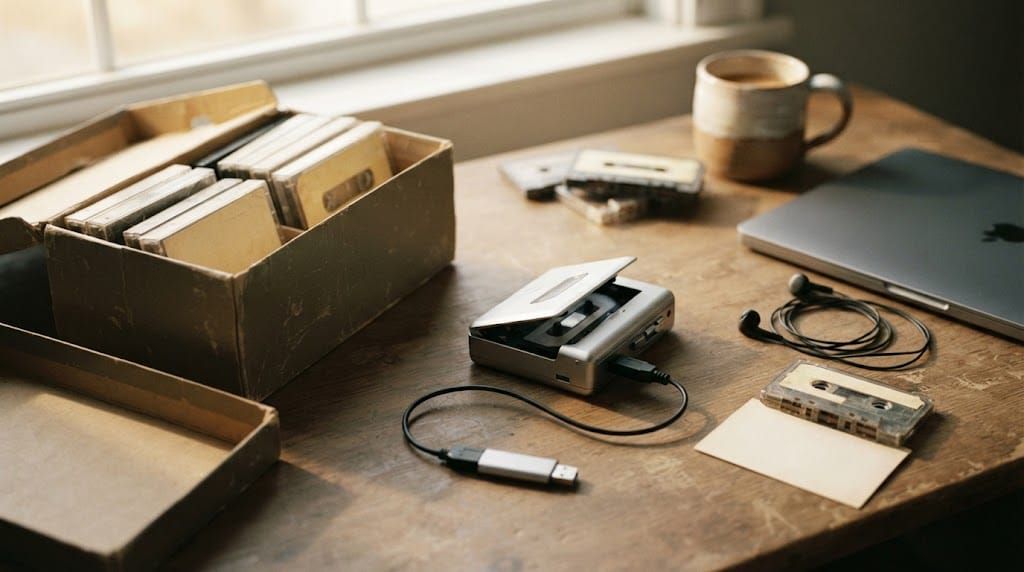
Somewhere in a cupboard there's a shoebox. Inside are the mixtapes you made at sixteen, the tape your grandmother recorded of the family singing at Christmas, the radio show you taped off the air one summer night, the answering machine message from someone who isn't here anymore. Cassettes last a surprisingly long time, but not forever, and the machines that play them are getting harder to find.
Converting cassette tapes to digital is how you make sure none of that disappears. It sounds technical, but it's mostly a matter of patience. Here's how to digitize cassette tapes at home, which equipment to choose, and how to keep the results safe.
What converting actually involves
There's no fast way to copy a tape. The music has to be played from start to finish while something on the other end records it, so a 90-minute cassette takes 90 minutes to convert. That's the one thing that never changes, whatever equipment you use.
What does change is how the sound gets from the tape into a digital file. There are two main routes: a cassette player with a USB connection built in, or a regular cassette deck connected to a computer with a cable. Both work, and the right one depends on how many tapes you have and how much they matter.
Route one: a USB cassette player
For most people, the simplest way to convert cassette to MP3 is a portable cassette player with USB recording. These look like an old Walkman but have a digital converter inside, and some don't need a computer at all.
The Ezcap standalone cassette converter records straight onto a USB flash drive. You put in a tape, plug in a memory stick, press record, and the music is saved as an MP3 file. It's an easy choice for parents or grandparents who want to save their own tapes without touching a computer. The DIGITNOW USB cassette player works in a similar way, with earphones included so you can listen as it records.
If you'd rather work on a laptop, where it's easier to split tracks and name files, a USB cassette player that connects directly to a computer like the ClearClick Cassette to USB is a good middle ground. The computer handles the recording, and you can see the sound as it comes in.
Keep expectations sensible. These compact players are perfect for voice recordings, family tapes and casual mixtapes, but they won't match the sound of a good home deck.
Route two: a cassette deck and a computer
If you have a large collection, or tapes where sound quality really matters, a full-size cassette deck is worth it. The heads and motors are better, and the playback is steadier, which you'll hear in the long notes and quiet passages.
Some modern decks now include USB recording, which saves you from fiddling with cables. The TEAC W-1200 dual cassette deck records to a USB drive and has two tape wells, which is handy if you also want to copy tapes to new cassettes. The TEAC AD-850-SE combines a cassette deck and a CD player with USB recording, a neat solution for anyone digitizing both formats at once.
If you already own an older deck, you can connect its line out to your computer's audio input, or to a small USB audio interface, using a standard RCA cable. Then record with free software such as Audacity.
Before you press play
A little preparation makes a big difference. Clean the player's heads first, especially if it's been sitting in a drawer. Old tapes can leave residue, and dirty heads make everything sound muffled.
Then fast-forward each tape to the end and rewind it fully before recording. It evens out the tension on a tape that's been sitting for years and helps it run smoothly. If the tape looks warped, crinkled or sticky, stop and deal with that before you go any further. Some very old tapes need careful handling, and a precious one is worth a second opinion before it goes into a machine.
Recording and saving the files
Set the recording level so the loudest parts come close to the top without going into the red. Too low and you'll hear more hiss, too high and it will distort. Record a minute, listen back, and adjust before committing to the whole tape.
Once it's recorded, you can split a side into individual songs, trim the silence at the start and end, and name each file. Go gently with noise reduction. A little hiss is part of how cassettes sound, and removing too much takes the life out of the music along with it. It's part of why we crave tape hiss in a flawless digital world.
For an archive, save a high-quality version in WAV or FLAC, and make MP3 copies for your phone or for sharing. Then keep the files in at least two places, for example a computer and a cloud folder or external drive. A digital copy that only exists in one place is nearly as fragile as the tape.
Keep the tapes, too
Converting cassette tape to digital doesn't mean the cassettes should go in the bin. The tape itself, with its handwritten label and its slightly faded insert, is part of the memory. Store it upright, away from heat and magnets, and it will usually keep for many more years. The object matters as much as the sound, which is why physical music hits different.
Give the music a new life
Digitizing an old mixtape often turns into something more. Once you hear those songs again, you remember who made the tape, who it was for, and what was happening that year. Many people end up sharing the files with family, or making a new mixtape inspired by the old one.
If you'd like to give someone a fresh cassette or CD with the songs that mattered back then, a custom mixtape is a lovely way to bring them back together. Here's why a cassette gift feels more personal than a playlist link, and how custom cassette and custom CD compare if you're choosing between them.
The shoebox has kept those songs safe for decades. Now it's your turn. When you're ready, start creating your own mixtape.


